
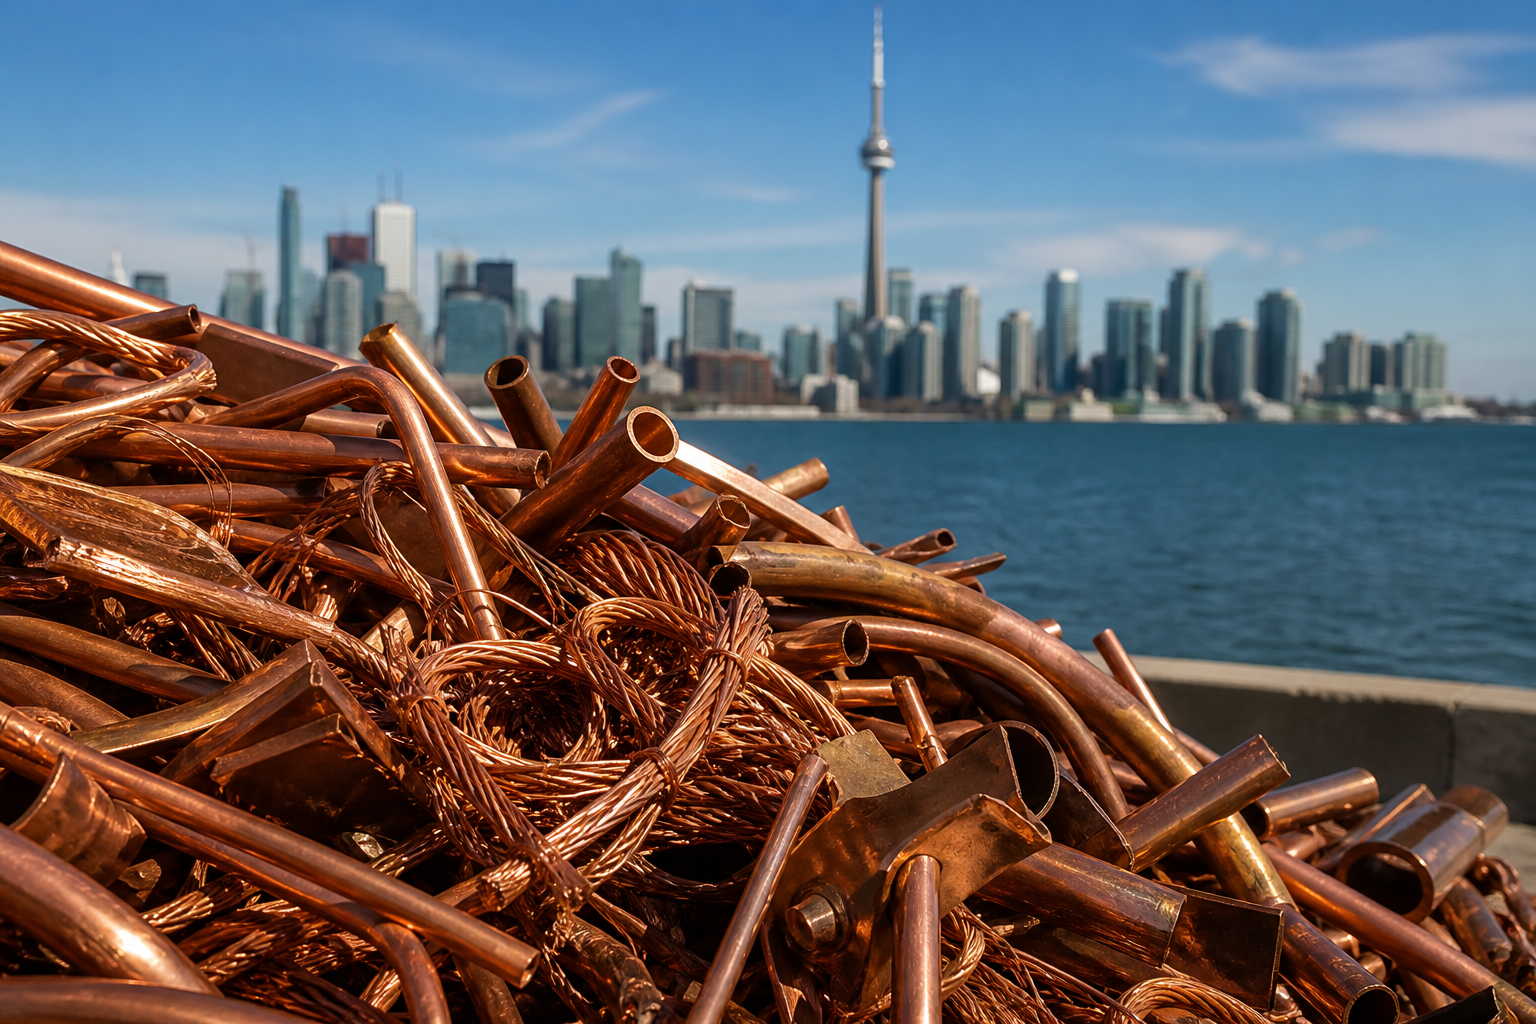
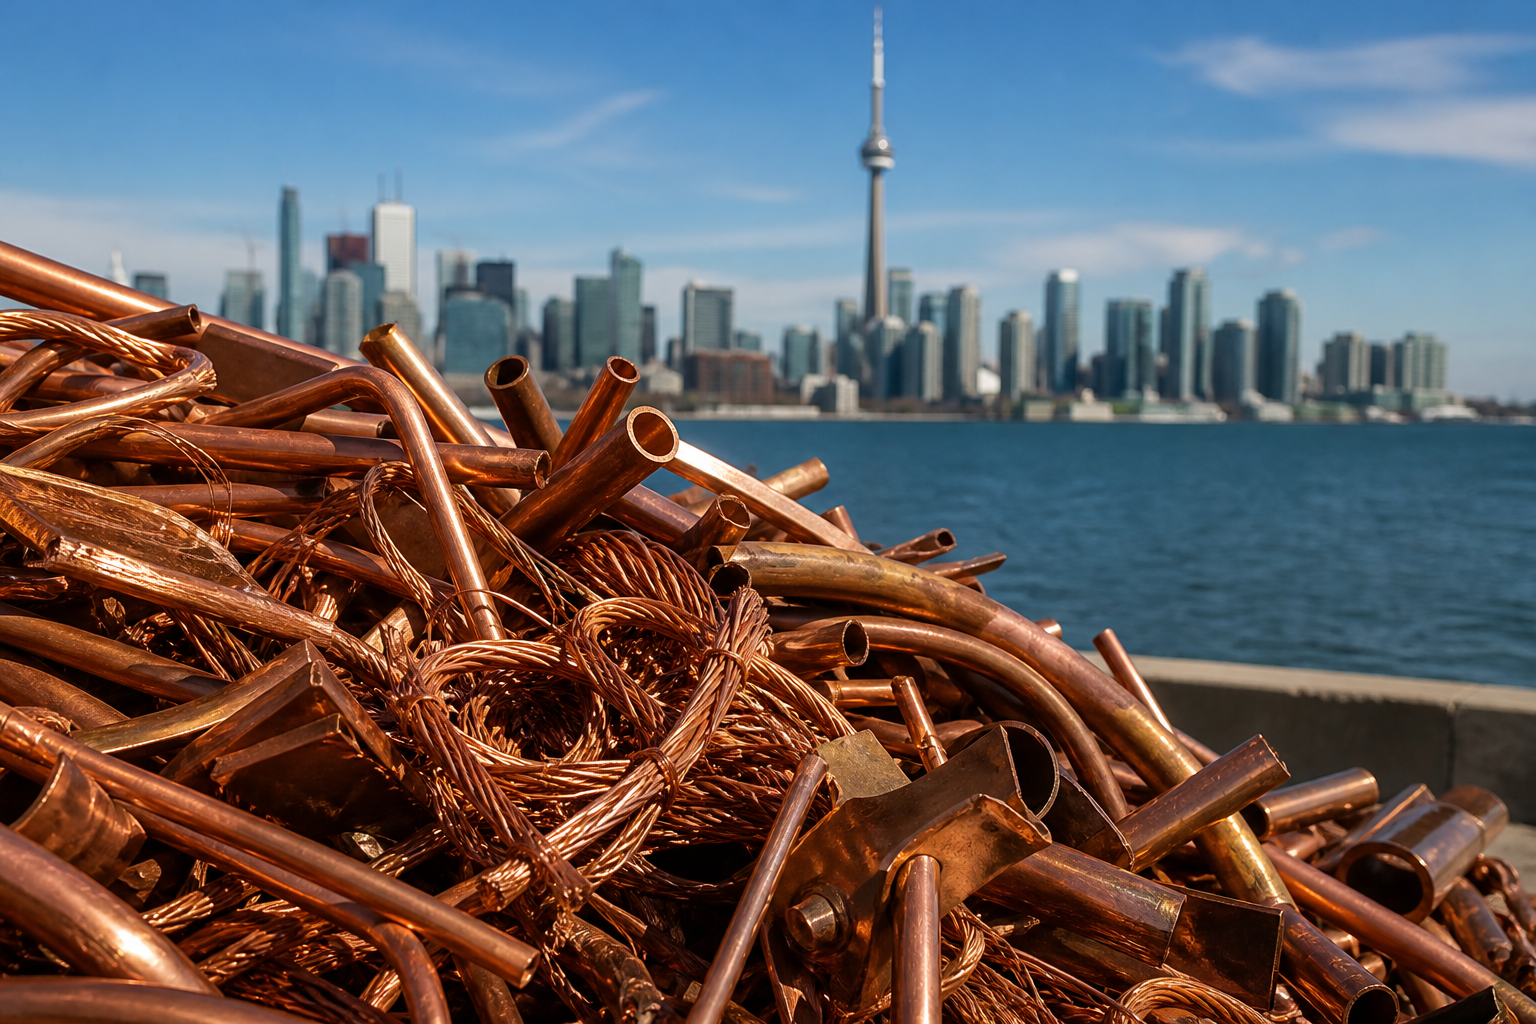
A Practical Guide to Scrap Copper Prices Toronto
Whether you are cleaning out a garage, wrapping up a renovation, or handling regular offcuts from trade work, understanding scrap copper prices in Toronto helps you turn material into money more efficiently. This guide explains what drives copper pricing, how to sort and prepare your material, what to expect during a transaction, and practical steps to make each trip to a scrap yard faster and more rewarding—without chasing ever-changing market swings.
What drives scrap copper prices
Scrap copper prices are not random; they reflect a mix of quality, recoverable metal content, and broader market forces. While prices change over time, you can consistently improve outcomes by focusing on the variables you control. Key drivers include:
- Grade and cleanliness: Higher-purity, bright, uncoated copper typically commands stronger pricing than mixed or contaminated material. Dirt, oils, solder, paint, and corrosion can push copper into lower categories.
- Form factor and processing effort: Solid pipe, bus bar, and bare wire are straightforward to evaluate. Assemblies that contain steel screws, plastic fittings, soldered joints, or heavy insulation require more processing, which usually reduces the price offered.
- Copper recovery from insulated wire: Prices reflect estimated copper yield after stripping and processing. High-copper-content wiring (for example, thick single-conductor cable) tends to price better than low-yield cords or fine multi-strand cables.
- Lot size and consistency: Organized, uniform lots are faster to grade and weigh, helping the yard price with confidence. Mixed bins often require re-sorting on site, which can slow things down and influence your final payout.
- Market movement: Copper is a globally traded commodity. Scrap yards adjust posted and quoted prices in response to wholesale market conditions and downstream demand for different grades.
Your best lever, regardless of market direction, is preparation. Clean, sorted, clearly identified copper reduces uncertainty for both sides of the scale.
How to identify and sort copper for better returns
Sorting is the single most effective way to improve your return on scrap copper. Distinct grades have different values, and careful preparation helps ensure your material is placed in the correct category. Here’s a practical framework you can use at home or on a jobsite:
Common copper categories you’ll encounter
- Bare bright copper: Shiny, uncoated, unalloyed copper wire that is free of insulation, solder, paint, and corrosion. Typically solid single-strand or large-gauge stranded wire. Keep it free from contaminants to preserve its premium status.
- #1 copper: Clean copper pipe or wire that may not be shiny enough for bare bright but remains free of coatings, solder, and significant corrosion. Think straight copper tubing without fittings.
- #2 copper: Copper with surface oxidation, light solder, paint, or residue; includes pipe with fittings, joints, or minor contaminants. This category is still valuable but priced below #1 and bare bright.
- Enamelled or tinned copper: Motor windings or wire with thin coatings. Unless stripped and cleaned, expect a category below #1 due to processing needs.
- Mixed copper alloys: Components that look like copper but are actually brass or bronze. These are valuable non-ferrous metals, but they are not pure copper; keep them separate to avoid a downgrade.
Simple at-home checks
- Magnet test: Pure copper is non-magnetic. If a magnet sticks, there is likely steel present (for example, screws or reinforcing wire). Remove steel where safe and practical.
- Visual inspection: Freshly scraped copper should show a reddish-orange color. A dull brown or black surface can indicate oxidation, which might move it from #1 to #2 grade.
- Residue removal: Where safe, remove soldered joints, paint, siliconed sections, and fittings. Clean cuts that separate clean copper from contaminated sections can lift a portion of your load into a higher category.
Preparation checklist
- Sort by category before you travel: bare bright, #1, #2, insulated wire by type, and copper-alloy items (e.g., brass) in separate, clearly labeled containers.
- Cut off obvious contaminants: Remove brass valves, steel screws, and plastic fittings from pipe when practical.
- Keep it dry: Standing water, mud, or excessive moisture adds weight without value and can complicate grading.
- Bundle neatly: Coiled wire and cut pipe lengths are easier to weigh quickly and accurately.
Insulated wire categories and recovery
Insulated wire is priced based on the expected copper recovery after stripping and processing. Separating wire types helps ensure you’re credited for their true yield.
- Household extension cords and appliance cords: Generally lower copper content by weight due to thick insulation and plugs. Keep separate from higher-yield cable.
- Romex-type cable (building wire): Often higher copper content; separating the outer jacket to reveal inner conductors can improve classification.
- THHN and similar single-conductor wire: Frequently a strong category because it contains substantial copper relative to insulation.
- Coaxial and data cable: Typically low copper recovery due to shielding, aluminum, and plastic content. Keep it separate from power cable.
- Motor windings: Copper content can be high, but windings often carry enamel coatings and may be attached to iron cores; separating clean windings can help.
Do not burn insulation; it is unsafe and environmentally harmful. Focus on clean mechanical separation where feasible and allowed. If stripping wire is time-intensive, organize by type and gauge so the yard can evaluate the expected recovery more accurately.
Weighing, grading, and transaction basics
Most scrap transactions follow a straightforward flow. While specific processes vary by yard, you can prepare for a smooth experience by understanding typical steps:
- Arrival and check-in: Follow posted signs. Keep sorted containers accessible for quick inspection and weighing.
- Grading: A buyer inspects and assigns categories based on cleanliness, metal type, and recovery potential. Clear separation on your end makes this faster and can improve the overall result.
- Weighing: Material is weighed by category. If you brought items in a container, the container’s weight (tare) is typically deducted from the total (gross) to arrive at the net metal weight.
- Scale ticket or record: Expect an itemized summary listing each category, weight, and corresponding price for transparency.
- Payment: Payment methods and timing vary by business and jurisdiction. Bring identification if required and confirm accepted methods before you go.
Before you load up, a quick call to a local yard can clarify current buying categories, ID requirements, and any restrictions on mixed material. Arriving organized helps keep your visit efficient.
Timing and market awareness without chasing the top
Because copper pricing moves with the broader market, you may be tempted to hold material waiting for a spike. A practical approach is to set simple rules that balance time, space, and cash flow:
- Set a bin threshold: Decide on a full-bin weight or volume at which you sell, rather than waiting for perfect market timing.
- Batch by grade: Accumulate sorted lots so each trip is worthwhile and quick to process.
- Spot-check quotes: Call one or two local yards for current categories and guidance on tricky items before you head out.
- Watch quality, not just quantity: Upgrading a portion of your load from #2 to #1, or from mixed cords to clearly separated THHN and Romex, often matters more than a short-term market blip.
Consistent, prepared selling typically outperforms infrequent, mixed-material drops—especially when you factor in your own time and travel costs.
Ethical and responsible sourcing
Scrap yards expect legitimate material with clear ownership. Keep simple documentation when possible—receipts for renovations, invoices for decommissioned equipment, or notes on where surplus cable originated. If you inherit or purchase mixed lots, separate obviously personal or sensitive items before selling. For electronics that contain data, remove or wipe storage devices appropriately before disposal.
When preparing appliances or electronics that include copper-bearing components (like motors or wiring), handle materials thoughtfully. Avoid damaging components that could be hazardous if mishandled. If you are uncertain about safe dismantling, leave complex disassembly to professionals and bring the complete item.
Practical packing and transport
Efficient packing protects your copper, speeds up grading, and keeps your vehicle organized. Try these pragmatic tactics:
- Use stackable bins: One grade per bin. Label each with tape and marker.
- Protect bare bright: Keep it clean and separate from oils, dirt, and sharp edges that could nick the wire.
- Pre-cut to manageable lengths: For long pipe runs or cable, cut to lengths that are easy to load, unload, and weigh.
- Keep tools handy: Tin snips, side cutters, adjustable wrenches, and a magnet help with last-minute sorting and fitting removal.
- Weigh at home for estimates: A basic scale helps you gauge whether waiting to fill another bin is worth the trip.
Common mistakes that cost sellers
Avoiding a few pitfalls can preserve your copper’s value:
- Mixing grades: Bare bright coiled together with painted or soldered pipe often results in the whole lot being downgraded.
- Leaving non-copper metals attached: Brass valves, steel screws, and aluminum fittings reduce the purity of your copper category.
- Burning insulation: It damages the metal’s appearance, can leave residue, and is unsafe. It also risks disqualification or downgrading.
- Muddy or wet loads: Added moisture contributes weight without value and complicates inspection.
- Chasing rumors: Rely on current quotes rather than hearsay about where prices “should” be.
Simple decision framework for your next load
Use this quick decision tree to plan your next copper drop-off:
- Inventory: List your copper by type—bare bright, #1/#2 pipe, insulated wire (by type), and mixed alloys.
- Upgrade pass: Spend 15–30 minutes removing easy fittings and separating higher-yield wire types.
- Containment: Place each grade in its own labeled bin; keep bare bright protected and dry.
- Threshold: If your primary bin is full—or you’ve reached your pre-set weight target—schedule the trip.
- Confirm: Call ahead for current categories and any identification requirements.
- Deliver: Present bins in order of value, starting with your cleanest, highest-grade copper.
- Review: Keep the scale ticket, note weights by category, and use it to refine your next preparation round.
FAQ
What’s the difference between bare bright and #1 copper?
Bare bright is unalloyed, uncoated, shiny copper wire with no insulation, solder, paint, or corrosion—often single-strand or large-gauge stranded wire. #1 copper is also clean copper, but may include pipe or wire that isn’t shiny enough for bare bright or shows minor surface dullness while remaining free of coatings and solder. Both are valuable, with bare bright generally positioned as the higher category when clean.
Is it worth stripping insulated wire?
It depends on the wire type, gauge, and your time. High-copper-content single-conductor wire often benefits from stripping, while low-yield cords and fine multi-strand cables may not justify the effort. If you choose not to strip, sort by type so the yard can assess recovery more accurately.
How can I estimate the value before I go?
Weigh your sorted bins at home to understand total quantities by category. Then contact local yards for current categories and guidance on tricky items. Market prices change, so treat any estimate as directional rather than final.