
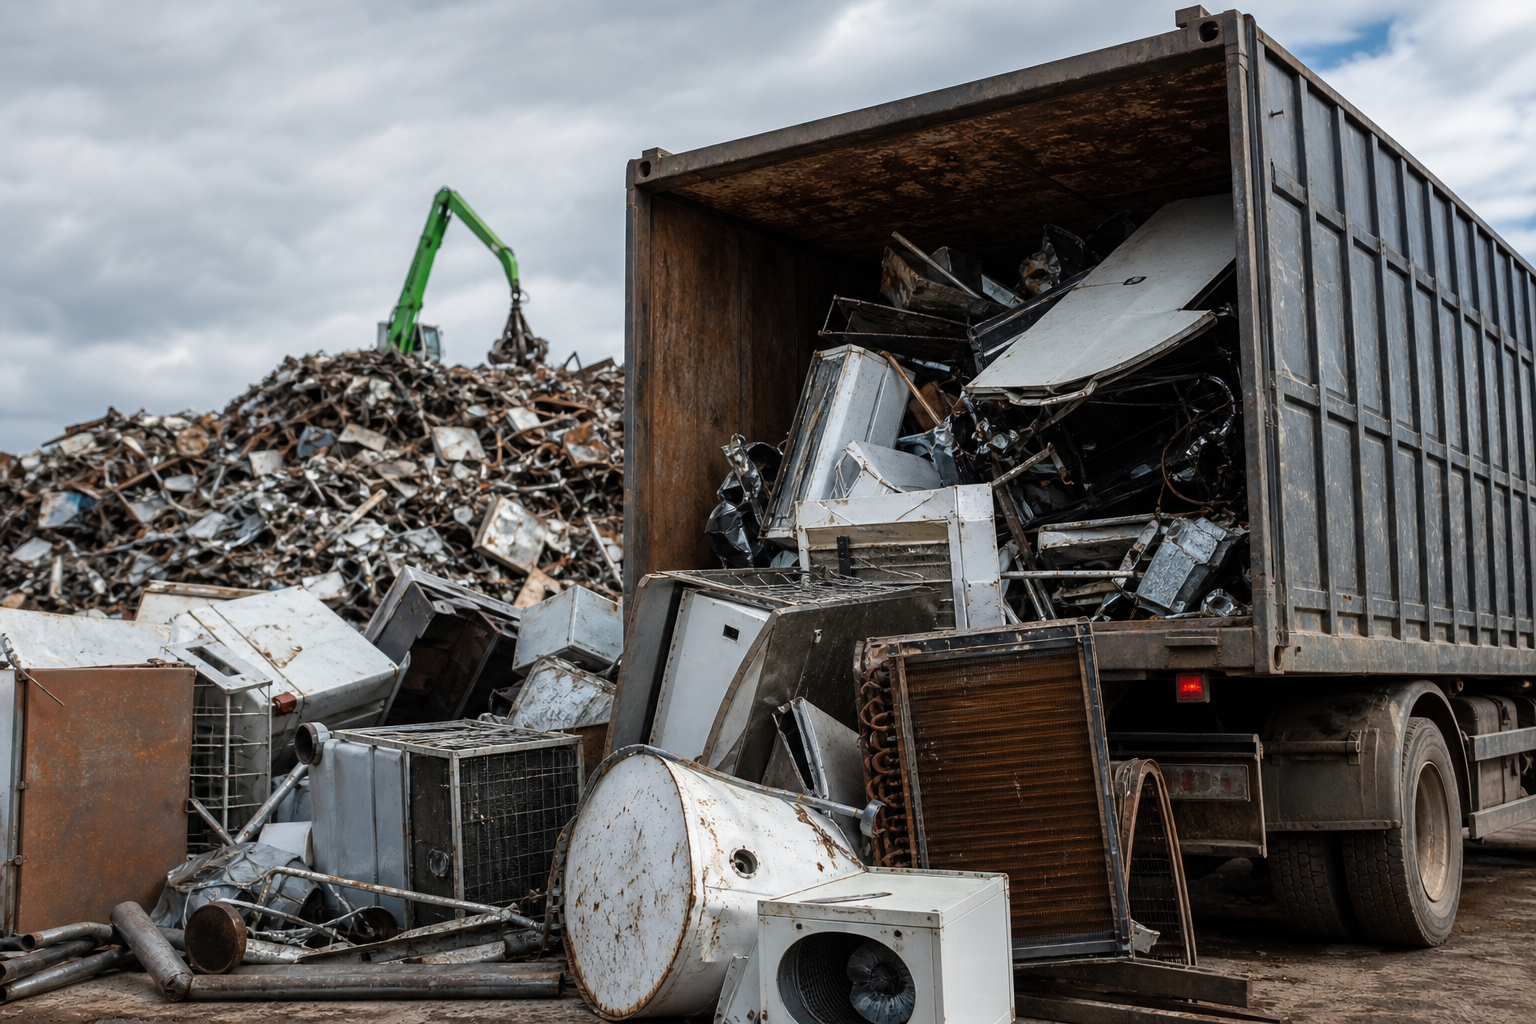
Junk metal pick up turns clutter into useful resources by channeling discarded metals back into manufacturing. Whether you are clearing a garage, renovating a property, or winding down a job site, a little planning helps you move metal out quickly, safely, and with fewer surprises. This guide walks through identification, preparation, scheduling, and day-of logistics so you can approach pick up with confidence.
What counts as junk metal?
“Junk” usually means unwanted, bulky, or end-of-life metal items. Many recyclers accept a broad range of ferrous and non‑ferrous metals, plus common metal-bearing goods. Typical categories include:
- Ferrous metals: steel, iron, cast iron, rotors, steel/tin household items
- Non‑ferrous metals: aluminum, copper, brass, nickel, lead, stainless steel, bronze
- Vehicle and machinery parts: engines, motors, transmissions, radiators, compressors
- Household metal goods: faucets, range hoods, microwaves, dishwashers, ovens/stoves, washers/dryers, BBQs, old tools, lawn mowers, snow blowers, heating ducts, siding, plate/extrusion
- Cables and wiring: extension cords, insulated copper or aluminum wire
- Batteries: lead-acid and certain other types (policies vary; confirm acceptance first)
- E‑waste with recoverable metals: computers/laptops, televisions/monitors, Blu‑ray/DVD players, keyboards and peripherals, printed circuit boards (PCBs)
Acceptance policies differ by service and location. Before booking, verify which materials are allowed, how they must be prepared, and any fees or restrictions for hazardous components.
Prep your metal for pick up
Good preparation speeds up service, reduces handling costs, and improves safety. Use this checklist:
- Sort by type where practical: separate ferrous (magnetic) from non‑ferrous (non‑magnetic). A simple magnet test helps.
- Remove non‑metal attachments: wood, plastic shells, fabric, rubber hoses, foam insulation, glass. Keep removed parts in a separate pile.
- Drain removable fluids where legally permitted and safe to do so: for example, oil from small engines. If in doubt, leave it for a qualified professional. Do not pour fluids into drains or the ground.
- Bundle loose items: tie rebar, band siding, coil and tape cords/cables to avoid tangles.
- Cut to manageable lengths: if you have tools and training, trim long sections to safer sizes the crew can lift.
- Label special items: clearly mark batteries, electronics, or anything with residual fluids.
- Stage near access points: place materials on a driveway or near a loading area with clear paths and no overhead obstructions.
For appliances containing refrigerants (such as certain refrigerators or A/C units), recovery and handling of refrigerant should be performed by a qualified professional. Regulations and safety standards apply; do not attempt to vent or remove refrigerants yourself.
Pickup options and how they work
You have several ways to move junk metal out. Consider your timeline, load size, and available labor:
- Full-service pickup: A team loads materials for you. Useful for heavy appliances, mixed loads, or limited on-site labor.
- Curbside or driveway pickup: You stage items at the curb or a designated spot; the crew collects them. This is efficient if you can do the prep and staging.
- Container or bin service: For ongoing projects, a bin can be dropped off and later hauled away when full (availability varies).
- Self-haul drop-off: If you have a truck or trailer and want flexibility, you can transport metals yourself to an appropriate facility.
- Scrap vehicle pickup: End-of-life vehicles often require specialized towing and paperwork; confirm requirements before scheduling.
When you book, be ready to describe your load (types of metals, approximate weights, and any special handling needs), your site layout, and time windows that avoid traffic or parking conflicts.
Estimating weight and volume
Accurate estimates help match the right truck and crew. Try these simple methods:
- Use household scales for small bundles: weigh yourself holding the bundle and subtract your weight.
- Reference known weights: brake rotors (~10–15+ lb each depending on size), small appliances (often 30–80 lb), push mowers (varies widely). Treat these as rough cues, not exact figures.
- Measure by container: a 5‑gallon bucket of mixed metal may weigh 15–45 lb depending on material density; document what you place in each to refine estimates.
- Photograph the pile with a common object for scale: this helps dispatch plan capacity.
If you think you are close to vehicle or equipment limits, err on the side of caution and plan for an extra run or a larger truck.
Hazards and safe handling
Metal is durable but unforgiving. Protect people and property with a few basic controls:
- Personal protective equipment: gloves, closed‑toe footwear, eye protection when cutting or grinding, and hearing protection around power tools.
- Pinch and cut points: watch out for sharp edges, coiled wires, and spring-loaded parts.
- Weight and balance: lift with legs, team-lift heavy items, and use dollies or pry bars rather than brute force.
- Fire risk: keep sparks away from flammables when cutting or using grinders.
- Chemicals and residues: treat oils, coolants, and battery acid as hazardous. Store upright, in sealed containers, away from drains.
- Refrigerants and pressurized systems: leave recovery and decommissioning to qualified professionals.
- Electrical safety: unplug appliances, discharge capacitors if trained, and avoid cutting live cables.
If you are unsure how to handle a particular material or component safely, consult a qualified professional before proceeding.
Organizing by metal type
Keeping metals sorted improves downstream recycling and can simplify logistics. Aim for three core streams:
- Ferrous (magnetic): steel and iron items, including rotors and tin-plated goods.
- Non‑ferrous (non‑magnetic): copper, aluminum, brass, stainless, nickel, lead, bronze.
- Special categories: batteries, e‑waste (PCBs, computers, TVs), and mixed assemblies awaiting further disassembly.
Use labeled bins or pallets; keep small items in sturdy boxes to prevent scatter. Coiling wires and taping the ends reduces snags and speeds loading.
Site access and a loading plan
A smooth pickup depends on clear access and a plan everyone understands:
- Access route: confirm truck height and weight clearances, turning radii, and any gate codes.
- Parking: reserve space near the pile; mark “no park” zones for the pickup window.
- Surface conditions: level, firm ground reduces tipping and injury risks. Avoid mud, ice, or steep slopes.
- Stacking: heavier items on the bottom, sharp edges pointed inward, and balanced loads to prevent shifting.
- Weather: rain can rust or add weight; tarp outdoor piles if pickup is delayed.
- Neighbors and noise: choose reasonable hours and minimize grinder or cutting noise where possible.
Documentation and records
Keep basic records for your project and future reference:
- Inventory list: item counts, approximate weights, and categories.
- Photos before pickup: helpful for dispute resolution and personal records.
- Receipts or manifests: store digital copies with dates and descriptions.
- Notes on special handling: e.g., who removed refrigerant and when, or where fluids were taken for proper disposal.
For any regulated materials or equipment, rely on qualified professionals for compliant handling and keep their documentation on file.
Questions to ask before you book
Clarify expectations up front to save time and costs:
- What materials do you accept, and are any items prohibited or surchargeable?
- How should items be prepared? Do you require draining fluids, removing doors, or cutting to size?
- What loading help is included? Do I need to stage at curb or assist with lifting?
- What are the equipment limits? Maximum weight per item, truck capacity, and lift capabilities.
- Do you handle e‑waste, batteries, or appliances with refrigerants? If so, what preparation is needed?
- What documentation will I receive at pickup?
- What are the scheduling windows and arrival notifications?
- How are access issues handled (tight alleys, overhead wires, low clearances)?
Common mistakes to avoid
- Leaving non‑metal attachments on items that could have been removed easily.
- Underestimating weight and booking an undersized pickup.
- Storing piles on soft ground that turns to mud under load.
- Mixing batteries and e‑waste into general scrap, creating safety and sorting issues.
- Failing to label items that contain residual fluids or pressurized components.
- Blocking access with parked vehicles on the pickup day.
Eco considerations and reuse
Recycling keeps metals in circulation and reduces the need for new raw extraction. Before you send items for pick up, consider:
- Reuse or parts harvest: some motors, fasteners, and brackets can be repurposed.
- Separate e‑waste: dedicated handling supports responsible recovery of metals and components.
- Avoid contamination: keep oils, paints, and chemicals away from your metal piles.
- Weatherproofing: tarps reduce rusting and prevent small parts from washing into drains.
FAQ: Junk metal pick up
How do I tell if my metal is ferrous or non‑ferrous?
Use a magnet. If it sticks strongly, the item is usually ferrous (steel or iron). If it doesn’t, it may be non‑ferrous like aluminum, copper, brass, or stainless. Sorting by this simple test helps logistics and downstream processing.
Can I include electronics and batteries with my metal pickup?
Many services accept certain electronics and batteries, but policies vary. Keep them separate, label them clearly, and ask for preparation requirements. Some items require specialized handling to protect people and the environment.
What should I do with appliances that contain refrigerants?
Refrigerant recovery and system decommissioning should be performed by a qualified professional. Do not attempt to vent or remove refrigerants yourself. Confirm any preparation steps before scheduling pickup.
Do I need to clean paint or insulation off my metal?
Removing obvious non‑metal attachments (plastic, wood, foam, fabric) is helpful. Paint usually does not need to be removed for pickup, but keep chemicals and wet paint away from your pile to avoid contamination.
How should I stage items for a quick pickup?
Place sorted materials near a clear access point on level ground, bundle long pieces, coil and tape wires, and keep pathways free of obstructions. Reserve parking space for the truck during the pickup window.
Next steps
Ready to move your metals? Review the preparation checklist, confirm acceptance for any special items (like e‑waste, batteries, or appliances with refrigerants), and schedule a time window that fits your site’s access and loading plan.